How to Change Your Vehicle Oil Filter Easily?
Changing your vehicle oil filter is crucial for maintaining engine health. A clean filter ensures that oil flows freely, preventing wear and tear. When oil contains impurities, it can cause damage. Thus, it is vital to replace your vehicle oil filter regularly.
While the task may seem daunting, it's easier than you think. Many car owners hesitate due to a lack of experience or tools. However, gathering the right materials can simplify the process. It's about knowing what to do and preparing adequately.
For some, this task can be a bit messy. Oil spills happen, and not every step will go perfectly. But each mistake is a learning opportunity. Taking on this task empowers you to understand your vehicle better. Overall, changing your vehicle oil filter is an essential skill for any car owner.
Understanding the Importance of Regular Oil Filter Changes
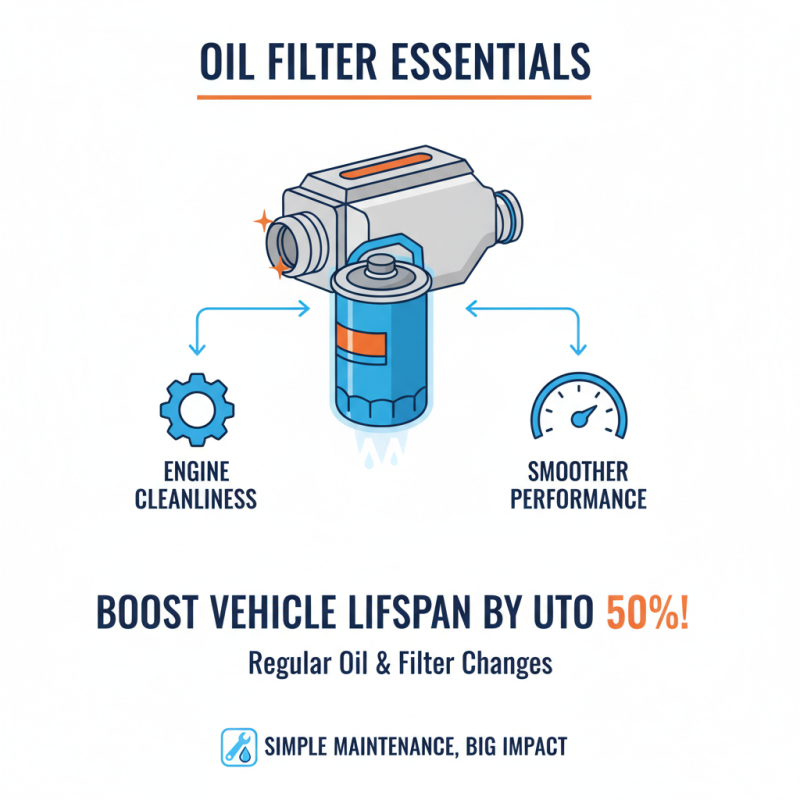
Changing your vehicle's oil filter is essential. It keeps the engine clean and running smoothly. Regular oil filter changes can enhance your vehicle's lifespan significantly. According to industry reports, vehicles with regularly changed oil and filters can last up to 50% longer than those without. This statistic underscores the importance of this simple maintenance task.
An oil filter traps harmful contaminants. Dirt, soot, and metal particles accumulate over time. When filters clog, oil circulation reduces. This can lead to engine wear and tear. Some studies indicate that neglecting oil changes can lead to a 15% decrease in fuel efficiency. Imagine losing that much money to fuel costs. It's a reality for many people who overlook this task.
However, many vehicle owners fail to change filters regularly. The inconvenience often leads to skipped maintenance. Many assume that if the oil looks clean, the filter is fine. That assumption can be misleading. Each oil change should accompany a filter change for optimal performance. Ignoring your oil filter can have costly repercussions down the line. It’s worth reflecting on your current maintenance habits.
Gathering the Necessary Tools and Materials for the Task
Changing your vehicle's oil filter can sound daunting, but with the right tools and materials, it's manageable. The first step is gathering everything you need. Start with an oil filter wrench. This tool helps remove the old filter easily. Make sure you get the correct size for your vehicle. You’ll also need a new oil filter to replace the old one. Check compatibility to avoid issues later.
Don't forget the oil catch pan. It collects used oil, preventing messy spills. A funnel will also be helpful. It ensures easy pouring of oil without spills. Wear gloves to keep your hands clean. An old rag can assist with any unexpected mess.
Keep in mind, you should have spare rags handy. Sometimes, it can get a bit messy, even for the experienced. It’s easy to overlook small details until you're in the middle of the process. Check your owner's manual for specifics on your vehicle’s oil filter location. Each vehicle is different, and knowing where to find it is essential. Failure to do this may lead to frustration. Overall, preparation is key; it reduces the likelihood of errors during the oil filter change.
Step-by-Step Guide to Safely Remove the Old Oil Filter
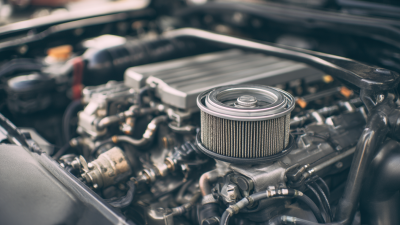
Changing your vehicle's oil filter is a crucial step in maintaining engine health. Experts suggest changing the oil filter every 3,000 to 5,000 miles, depending on your engine type and oil used. When you delay this, old oil can damage engine components. A worn-out filter can't effectively remove contaminants from the oil, leading to decreased performance.
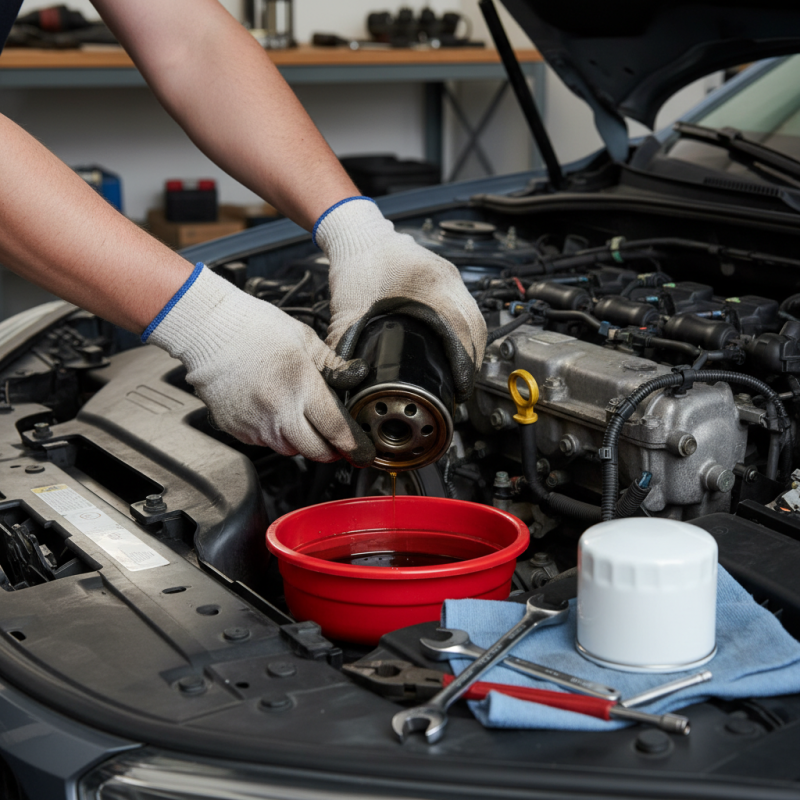
To safely remove the old oil filter, start by preparing your workspace. Use gloves to protect your hands and a drain pan to catch any leaking oil. Once the engine is cool, locate the oil filter. It may be tight, so an oil filter wrench can help. When you’re ready to unscrew, turn counterclockwise. Expect some resistance; it’s normal for the gasket to stick.
After removing the filter, compare it with the new one. Ensure they match in size and type. Apply a thin layer of new oil on the rubber gasket of the new filter. This will prevent it from seizing. Screw on the new filter by hand until snug. While it’s an easy job, it's easy to make mistakes. For instance, forgetting to check the old filter for leftover oil can lead to leaks. Stay vigilant; your engine will thank you for it.
Vehicle Oil Filter Change Frequency
Installing the New Oil Filter: Key Considerations
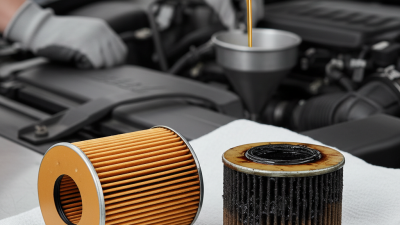
Changing your vehicle's oil filter is vital for maintenance. Installing a new oil filter may seem straightforward, but there are key considerations. Ensure you have the right size filter. An ill-fitting filter can cause leaks. Check the threads; they should be clean and free from debris. This makes installation smoother and more effective.
Before installing, apply a thin layer of oil to the rubber gasket. It helps create a better seal. This step is often overlooked, but it's crucial to prevent leaks. After securing the filter, don’t overtighten. It can damage the filter or engine. A snug fit is usually sufficient.
During installation, keep an eye on any warning signs like corrosion or unusual wear. These could indicate underlying issues needing attention. Noticing these signs can save time and money later. Taking a moment to inspect everything pays off in the long run. Installation errors can lead to significant problems, so double-check your work. Adjust as necessary to ensure a proper fit and function.
How to Change Your Vehicle Oil Filter Easily? - Installing the New Oil Filter: Key Considerations
| Consideration |
Details |
| Type of Oil Filter |
Ensure compatibility with your vehicle model. |
| Filter Location |
Know the exact location of the oil filter on your engine. |
| Required Tools |
Gather necessary tools such as an oil filter wrench and oil catch pan. |
| Preparation Steps |
Warm up the engine, then turn it off for safety. |
| Installation Tips |
Apply a bit of new oil to the gasket of the new filter before installation. |
| Disposal of Old Filter |
Properly dispose of the old filter and oil according to local regulations. |
Disposing of the Old Oil Filter and Cleaning Up Properly
When changing your vehicle's oil filter, disposing of the old filter is crucial. A typical oil filter contains about 10 ounces of used oil. Disposing of this waste improperly can harm the environment. According to the U.S. Environmental Protection Agency, improper disposal can contribute to soil and water contamination. It is essential to handle the used oil filter with care to prevent leaks.
After you replace the oil filter, seal it in a plastic bag. Take it to an approved recycling center or a designated hazardous waste collection site. Some auto parts stores also accept used filters. Remember, many states have specific regulations on oil filter disposal. Ignoring these guidelines can lead to fines.
Cleaning up properly involves more than just disposing of the old filter. It's important to wipe any spilled oil with absorbent materials. Many people underestimate how quickly oil can spread, causing further contamination. Utilize kitty litter or commercial oil absorbents to clean the area thoroughly. Dispose of these materials correctly, too. Ensuring a clean workspace leads to a safer environment. It’s a step that should never be overlooked.

 Products
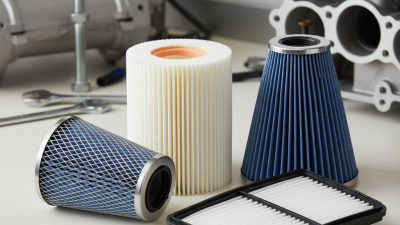
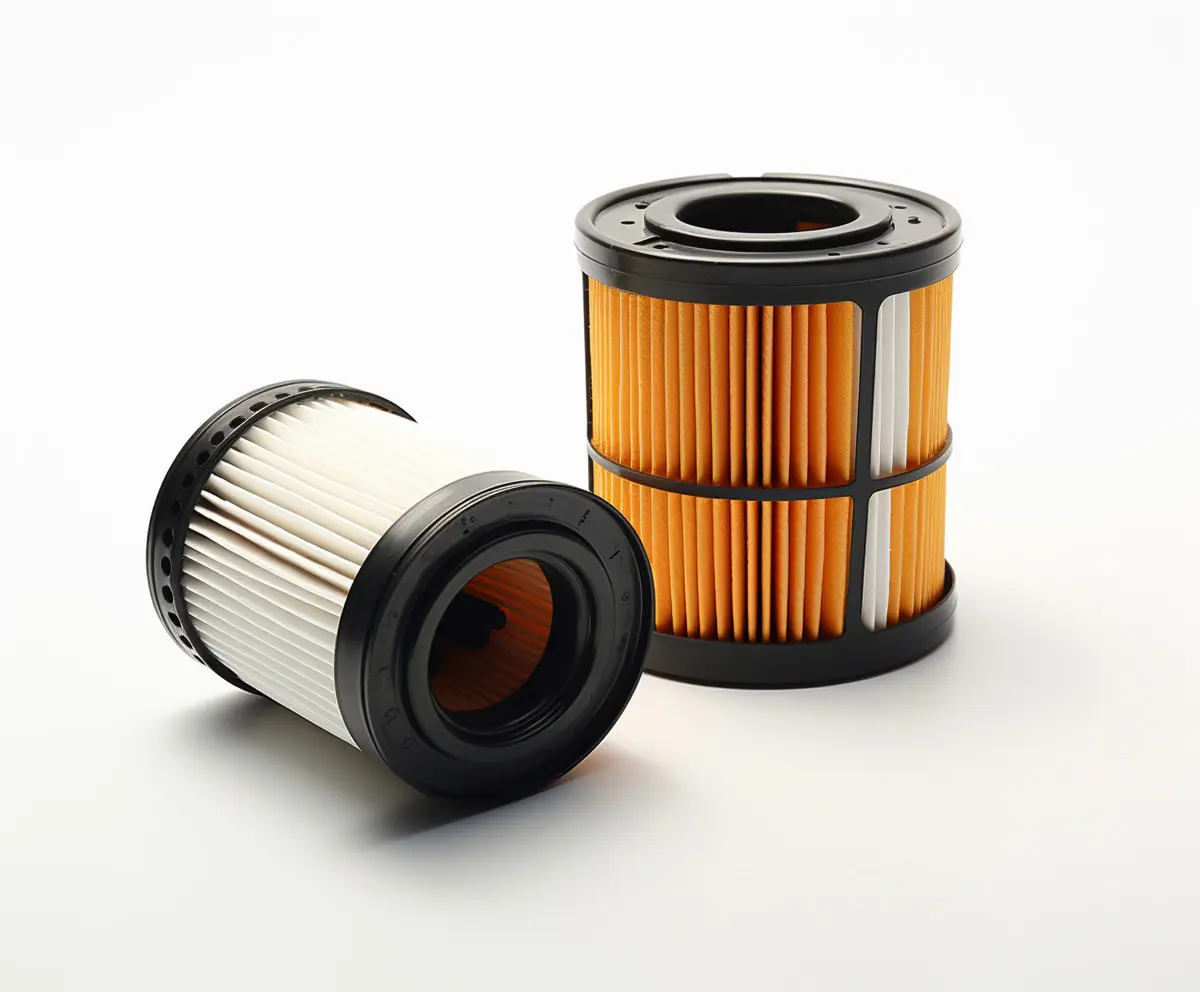
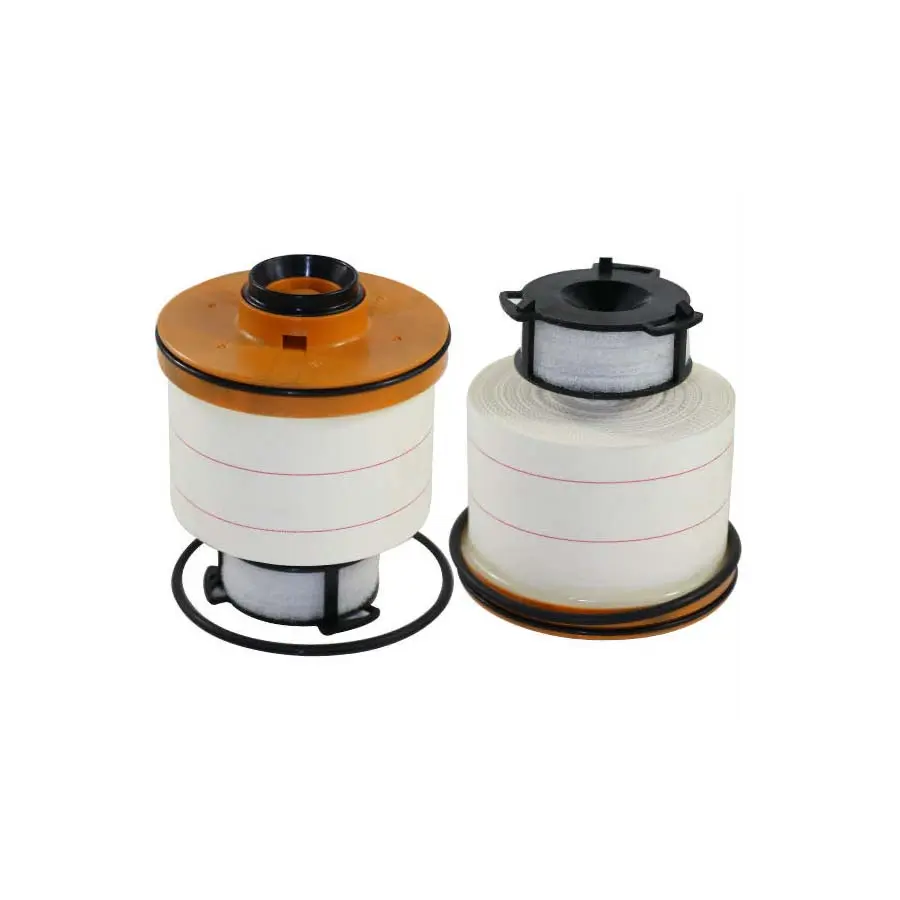 FUEL FILTER
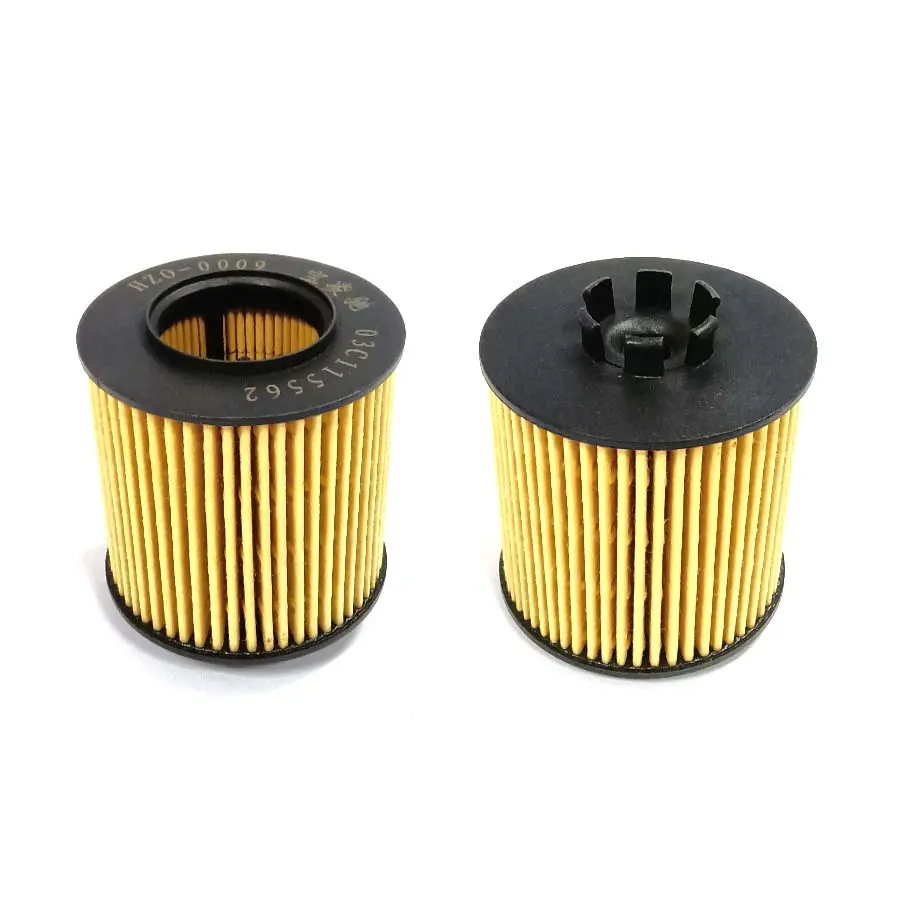 OIL ELEMENT FILTER
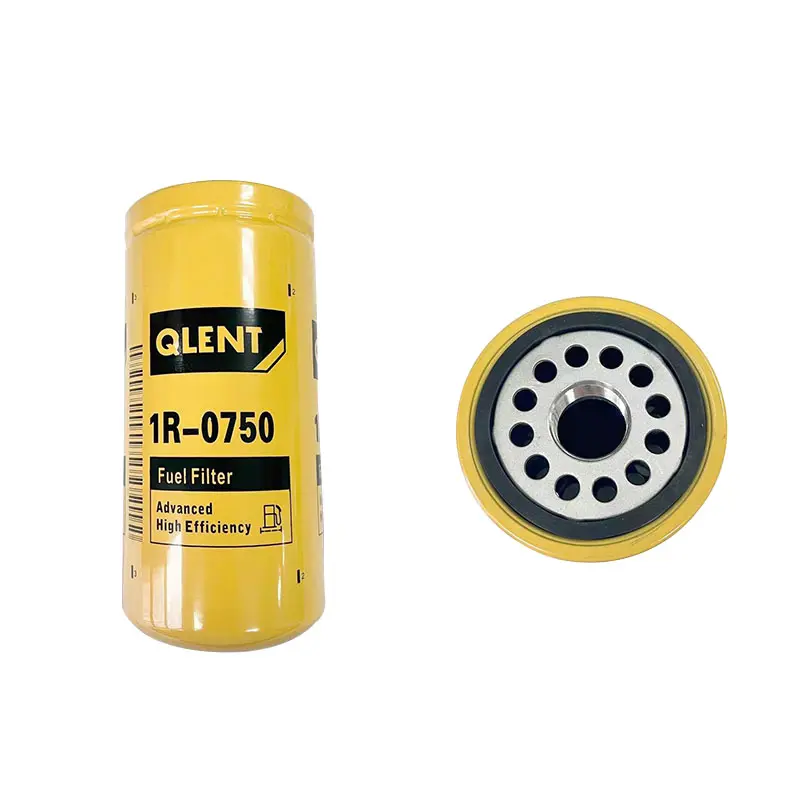 OIL FILTER
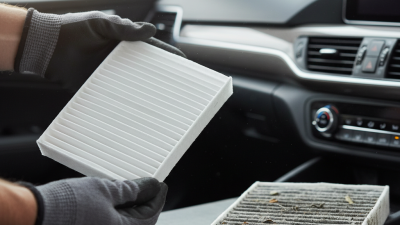
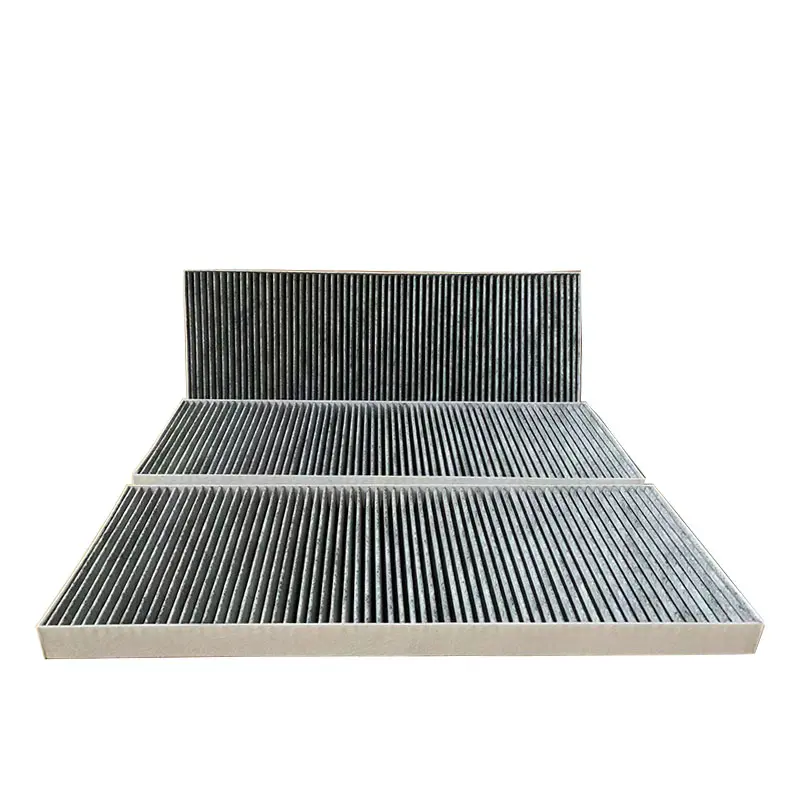 CABIN FILTER
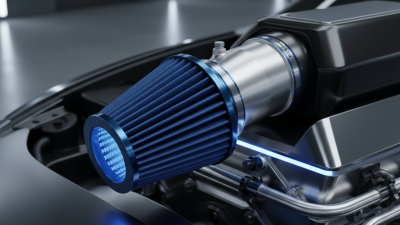
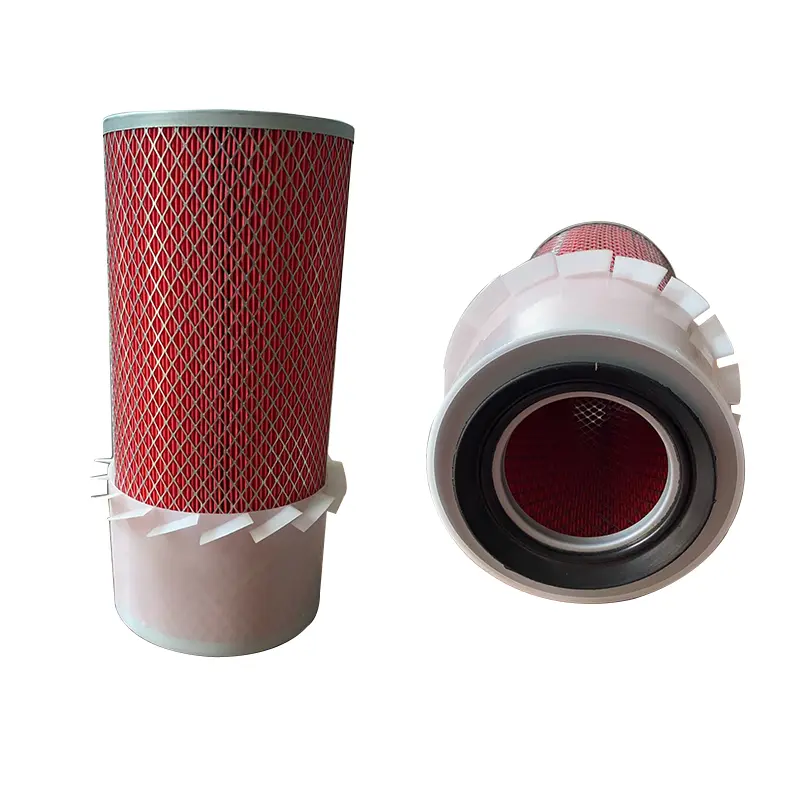 AIR FILTER